ComfyUI is best when your
image or video workflow needs repeatability, not just one-off prompt quality. It gives you
graph-level control over model selection, preprocessing, prompting, and output logic.
Updated: February 22, 2026.
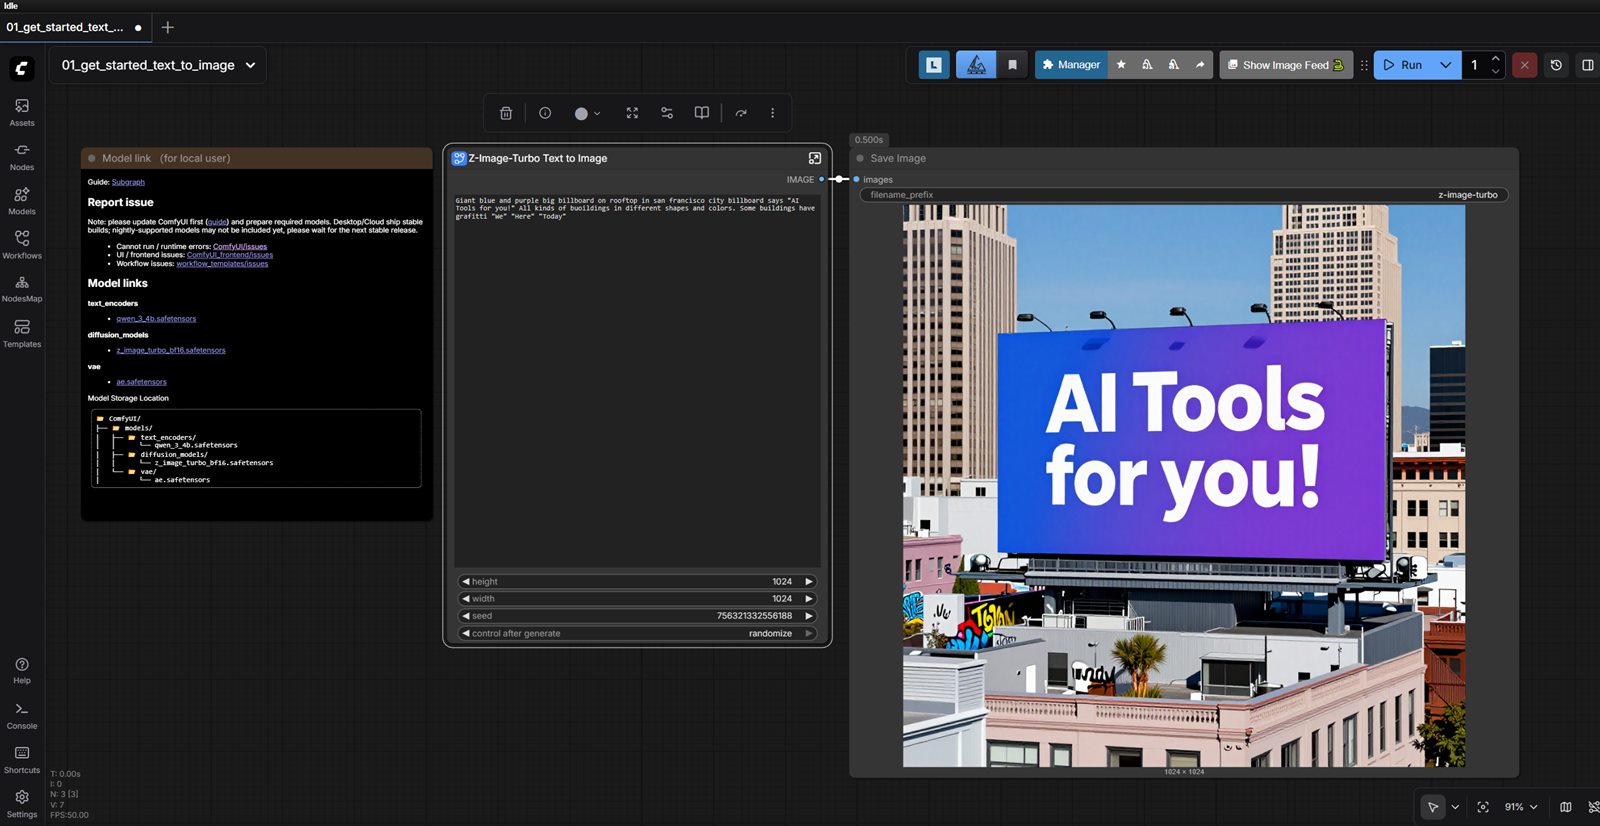
ComfyUI Interface Example
Template-first workflow: start with a proven graph, edit the prompt, then run iterations.
What This Guide Covers
Most ComfyUI content online focuses on isolated tricks. This guide focuses on operating
ComfyUI as a repeatable production system: how to pick your stack, keep workflows stable,
and avoid the common failure modes that make teams abandon node-based pipelines.
If you only need occasional one-off images, prompt-first tools are usually faster. If you
need predictable output at volume, ComfyUI is often the better long-term choice.
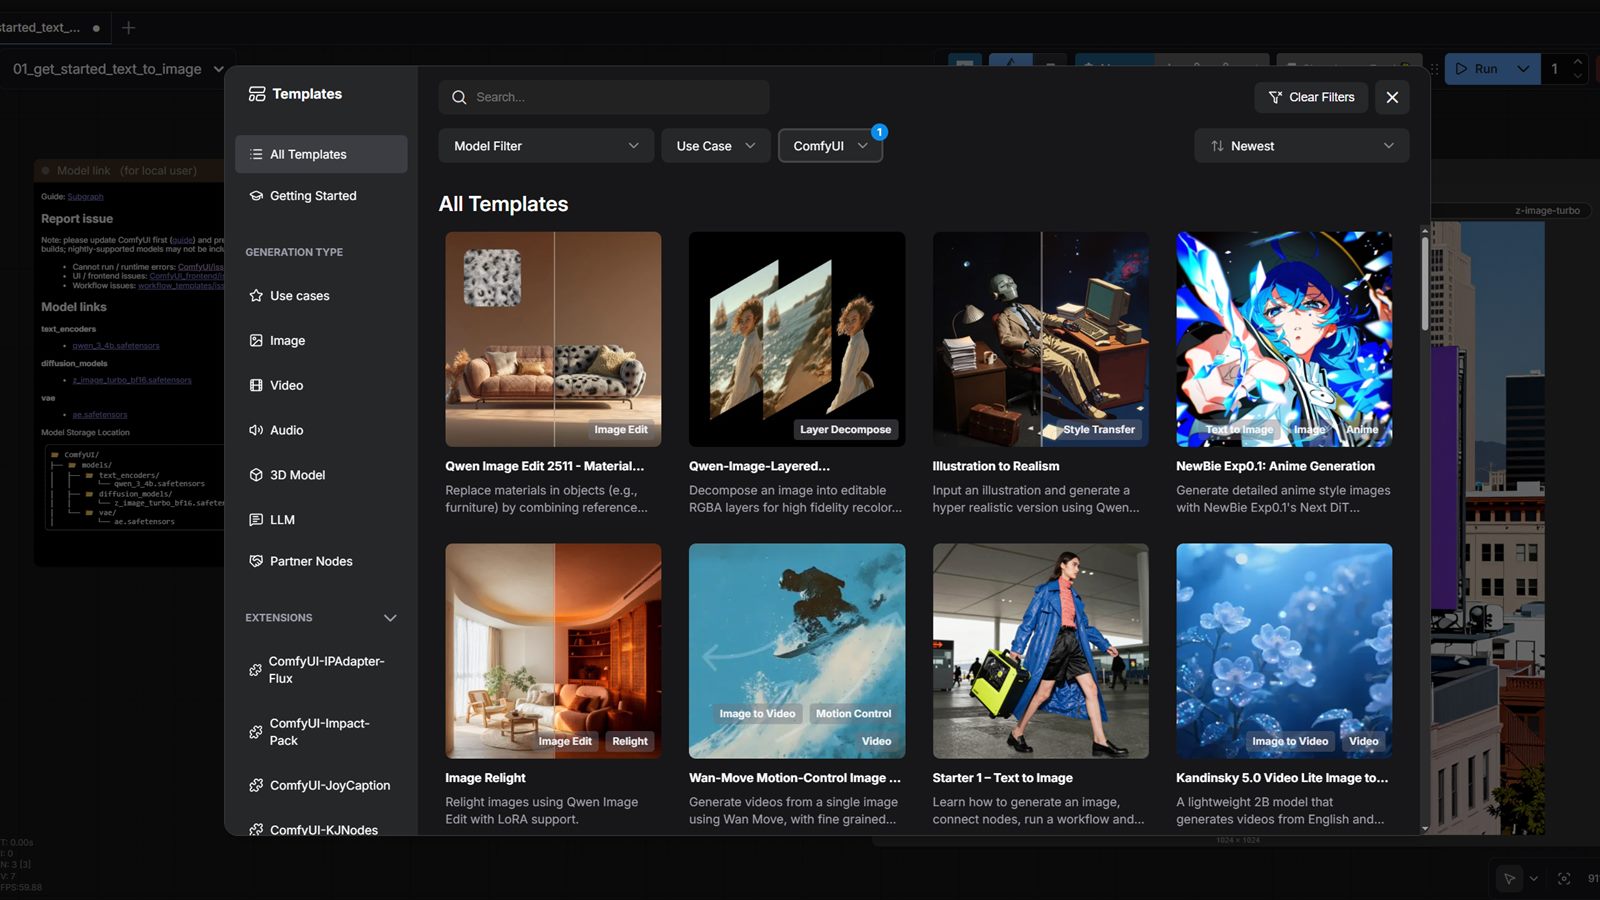
Templates view: choose an existing workflow first, then adapt it to your use case.
When ComfyUI Is the Right Choice
Workflow
Why ComfyUI Fits
Practical Setup Pattern
YouTube thumbnail systems
Community templates give you strong starting points without building node graphs from scratch.
Pick a proven template and iterate prompts quickly for each topic.
Short-form content visuals
Node chains make frame-by-frame style consistency easier than prompt-only tools.
Use a base style graph and swap prompts or reference images in controlled nodes.
Client creative production
Versioned workflows reduce rework and make edits predictable across projects.
Keep per-client template sets and adjust prompts/settings per deliverable.
Who Should Use ComfyUI (and Who Should Not)
Strong fit
Creators producing recurring visual formats with strict style consistency.
Small teams that need reusable generation pipelines instead of ad hoc prompts.
Operators who can maintain a light technical workflow and document process.
Weak fit
Teams needing fastest possible first draft with minimal setup overhead.
Workflows where every asset is unique and there is little process repetition.
Organizations without capacity to maintain model/node compatibility over time.
Stack Decision: Local, Cloud, or Hybrid
Option
Best When
Main Tradeoff
Local GPU workstation
You need lowest recurring cost and can manage your own setup.
Maintenance and upgrades are your responsibility.
Cloud GPU rentals
You need burst capacity for heavy batches without buying hardware.
Per-hour spend can climb fast without job discipline.
Hybrid local + cloud
You want daily local work plus occasional heavy rendering.
You need process rules to avoid workflow drift between environments.
Recommended First 7 Days Setup Plan
Install one known-good ComfyUI release and pin your Python/CUDA stack before adding custom nodes.
Start with a proven template that matches your primary output type (for example, 16:9 YouTube thumbnails).
Generate a few prompt-only variations first, then tweak settings only when needed.
Add only the minimum custom nodes required for your first production workflow.
Define export naming rules so assets are traceable by project, prompt version, and run date.
Run a small acceptance batch and confirm quality thresholds before scaling.
Keep week one narrow: one workflow, one graph, one output target. Most stability problems
come from trying to productionize too many graph patterns at once.
Common Production Failure Modes
Failure Mode
Root Cause
Practical Fix
Node sprawl and unmaintainable graphs
Adding experimental nodes directly into production workflows.
Keep a clean production graph and a separate sandbox graph for experiments.
Inconsistent output quality across runs
Changing model/sampler settings without versioning.
Treat graph + model choices as versioned artifacts and log every major change.
Slow iteration despite local GPU
Oversized models/resolutions used for every draft.
Use low-cost draft settings first, then upscale only approved candidates.
Team handoff breaks pipelines
No runbook for graph inputs, file layout, and output QA rules.
Document graph usage in a short SOP and include required input/output contracts.
ComfyUI vs Prompt-First Tools
Use ComfyUI when repeatable
pipelines matter more than fastest first draft.
Use Midjourney when
speed and style quality from short prompts is your top priority.
Use Leonardo AI or Adobe Firefly
when teams need guided UI workflows with less node-graph complexity.
In practice, many teams run a hybrid model: prompt-first tools for ideation, ComfyUI for
repeatable production once a style direction is approved.
Operational Rules That Prevent Rework
Version every production graph and keep a changelog for model/node updates.
Use naming conventions that encode project, format, and graph version.
Separate experimentation runs from production output folders.
Define QA checks for composition, legibility, brand style, and export specs.
Review GPU cost/time per approved asset at least once per week.